While I made a half-hearted attempt at astrophotography in the film area in the early 2000s using gas hypersensitized Tech Pan using an old Nikon F2 T-mounted to my C11. The results were mostly out of focus star trails. Digital astronomy cameras were available at the time but they were in the $5K and above price range for any quality and only a few megapixels. The good news is that I already had a fairly substantial tracking mount - the Losmandy G11. This was a 20 plus year old tracking but not a go-to mount. The good news for me is that the Losmandy mounts were designed to be upgradable. After changing out the stepper motors to servos and replacing the controller and a few other upgrades I now have a software controllable go-to mount that should be able to support a telescope and astro camera.
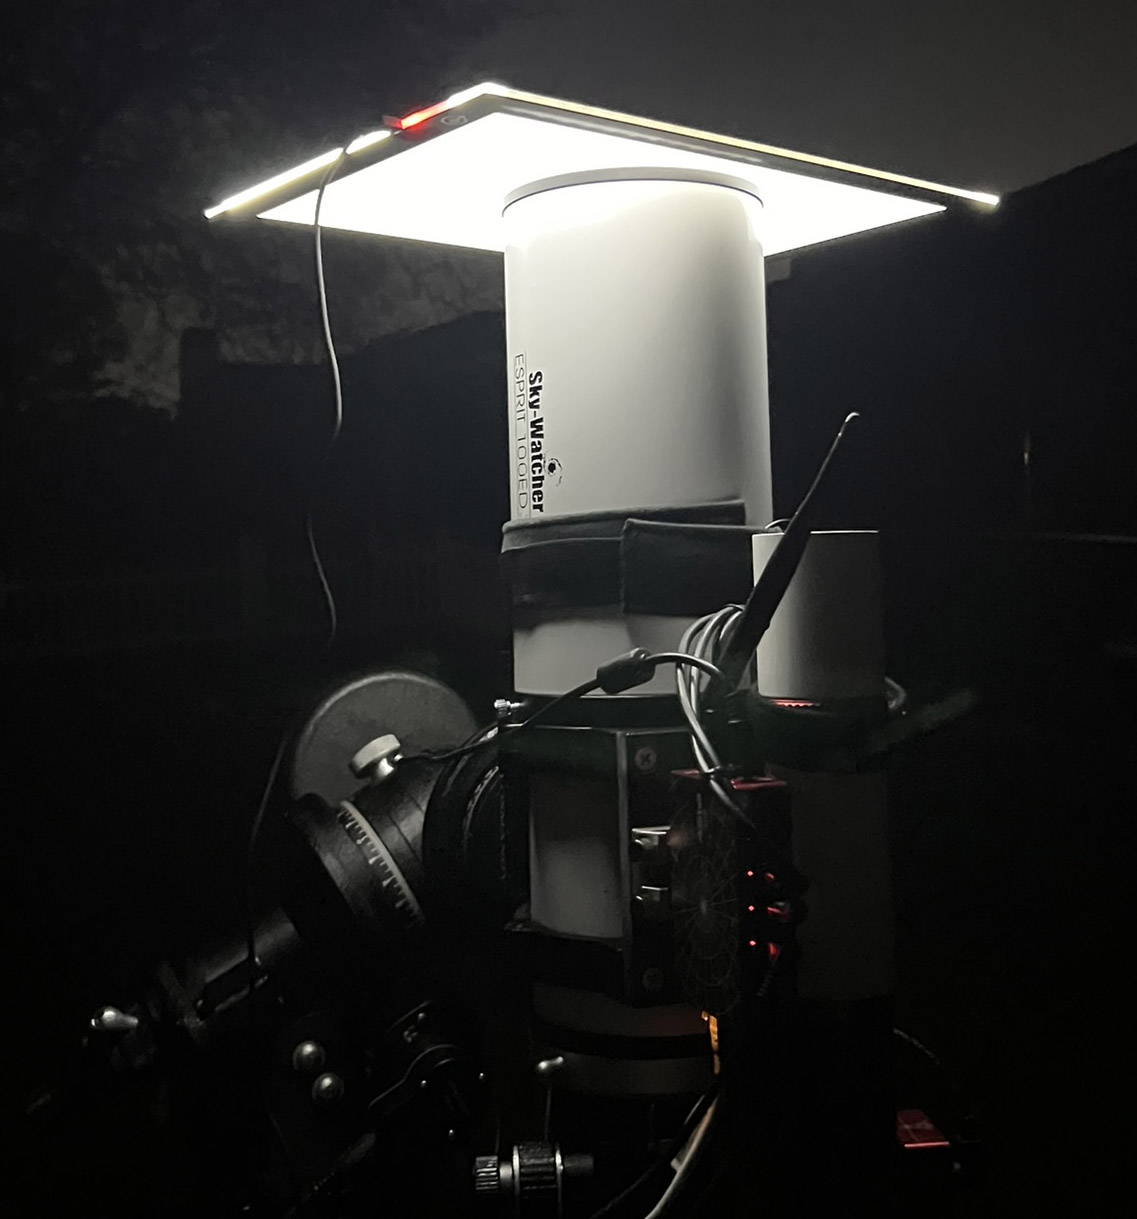
Reevaluating the camera options in 2022 opened a world of new manufacturers and options. One of the new players is ZWO. They make an ASI camera and accessory line of more than a dozen gray-scale and one-shot color cameras as well as autoguiders and other accessories. After some research I went with one of their APS-C cooled one-shot cameras for the main camera and a William Optics f/4 Uniguide scope with a ASI120MM 'mini' camera for the autoguider. Later that was upgraded to an ASI220MM camera. These are being controlled by a ASIAir Plus. When I added an electronic focuser that the ASIAir controls a lot of the tedium was eliminated from the process. The Camera Angle Adjuster (CAA) was later added but is not in this photo.
After all of the other pieces were working the limitations of the old Megrez 80SD doublet were really showing up in images. I decided to upgrade to a more modern triplet in the Esprit 100ED. Now everything was where I wanted it, except for clear skies.
If you go the ASIAir Plus route you need to use ZWO cameras for both imaging and tracking (or a ZWO camera that has a autoguider built-in) and a ZWO auto focuser if you want the ASIAir to control them. The mount may be most modern go-to mounts. Although I have a Pole Master I usually use the ASI Air Plus to get the polar alignment and control everything from an iPad. While ZWO offers a few ASIAir models the plus model has two USB3 ports which I wanted for the camera that also supports USB3.
Once everything is assembled the weight of the OTA, Losmandy plate, tube rings, CAA, EAF, finder scope with camera, main camera and ASIAir it comes to 22.3 pounds. This has me thinking that one of the new strain wave mounts would handle this telescope as a portable set-up.
ASIAir Plus Controlling the G11
My Losmandy G11 mount is from about 2003 and has been upgraded to the Gemini 2 system. Additionally it also has the latest Level 6 firmware upgrade.
I started off using a compass to rough align the mount to magnetic North. Then Pole Master was used to polar Align the G11. The G11 hand controller was used to star align and then letting the ASIAir's plate solving finish off the object targeting.
After some testing I now still use the compass for rough alignment. Then the ASIAir's polar alignment is used instead of Pole Master. I also no longer attach the Gemini's hand controller and let the ASIAir's Plate Solving take care of framing the target. Additionally the guide scope tracking is also handled by the ASIAir. I chose the ASIAir Plus because it had two USB3 ports that attach to the primary imaging camera and the guide scope camera. The two USB2 ports connect to the EAF (electronic focuser) and the G11 mount. If needed the primary camera has a built-in USB hub and two additional USB2 devices may be connected, like a filter wheel or camera rotator. For now I like connecting the tracking scope to the camera's hub with a short USB cord.
There are also four 12v power outputs (round 5.5mm x 2.1mm I believe). One goes to the primary camera and allows the built-in chiller and dew heater to work. Two of the outputs have software controllable PWM (Pulse Width Modulation from 0-100% power) on them and may be used with standard 12v Dew heater strips with an adapter to a female RCA plug. Both the guide and main scope's dew heaters are powered by the ASIAir Plus. All of the power outputs may be turned on and off via software.
The ASIAir is connected to my wireless home network and controlled by a tablet (Android or iOS). The ASIAir is an amazing and well thought-out piece of hardware and if you are using ZWO cameras, focuser, filter wheel I highly recommend it.
Networking the ASIAir Plus
Using the Internal ASIAir Plus Wifi
The ASIAir Plus has it's own built-in networking abilities. In standard mode it is a stand-alone connection point. This allows you and your iPad (or Android, PC, etc) to connect to it without requiring another network. There's no internet through this connection but it works pretty well at dark sky sites.
It also has Station Mode. This is where it connects to an existing network and your iPad also connects to that same network and you are able to communicate with the ASIAir. This is the normal mode when you have a home WiFi network and you want to connect to the ASIAir and be on the internet. I used this set-up for over a year.
The issue that I found was that occasionally the ASIAir would loose the connection. Sometimes it would reconnect and other times it would not. The latter case required me to power cycle the ASIAir to get it on the WiFi again. I tried various antennas but the disconnects continued. I was looking for something more stable.

The USB powered GL-iNet Mini Smart Router
Using the GL-iNet Mini Smart Router
On one of the Losmandy videos the GL-iNet Mini Smart Router was recommended to connect your device wirelessly to the the Losmandy G11 mount. The Losmandy mount does not have built-in WiFi only a RJ45 ethernet port so one of the GL-iNet ethernet ports is connected to the Gll mount with a ethernet cable. The ASIAir Plus also has an ethernet port.
I configured the GL-iNet to connect to my home WiFi network and share itself as a new network that could connect to the internet and the ASIAir Plus. I also tested it configured as a stand-alone connection point that communicated to the ASIAir. This all worked. The GL-iNet is a small, low power unit and it's range is limited although 20-30' wasn't a problem. What I didn't like was that I needed to change from my home network to the GL-iNet's network to see the ASIAir. This limited my ability to connect to many devices within my home network when using the ASIAir Plus and walking in the house caused a disconnect. There is some set-up involved with these configurations. If you have a G11 mount it has a USB power port. The GL-iNet has two ethernet ports.

The white box is the AX3000 on the G11 mount.
Using a Mesh Node
My home network is using an Asus router that will connect to multiple mesh nodes. A mesh node allows your home network to have multiple connection points where any WiFi device may connect to the strongest node and change nodes seamlessly as you move around. I was already using one node and thought that I picked up a second node I could connect it to the telescope mount. Like the GL-iNet it has the ability to use ethernet to devices but it also repeats the home network and creates a strong signal around each node.
I picked up a refurbished 3-pack of Asus AX3000 mesh nodes. Mesh nodes must be of the same brand and compatible with your router. I only needed one for this test. The AX300 is considerably larger than the GL-iNet. I 3D printed a bracket for it that allows it to mount on the G11 tripod. The result here was exactly what I wanted. The ASIAir's network connection is rock solid night after night. My stacked image downloads that used to transfer at 3-4Mb now go at 9-20Mb. I haven't tried letting the ASIAir connect to the Mesh node via WiFi to eliminate the ethernet cable. A bonus is that I get a really strong WiFi signal two yards away when I'm set up. Configuring a new mesh node requires turning it on near the main router and it configures itself. The AX3000 has two ethernet ports and runs on 12v DC and uses a 120v AC to 12v DC adapter. Mesh is not a field option as a stand-alone connection point, use the GL-iNet for that.
Filters
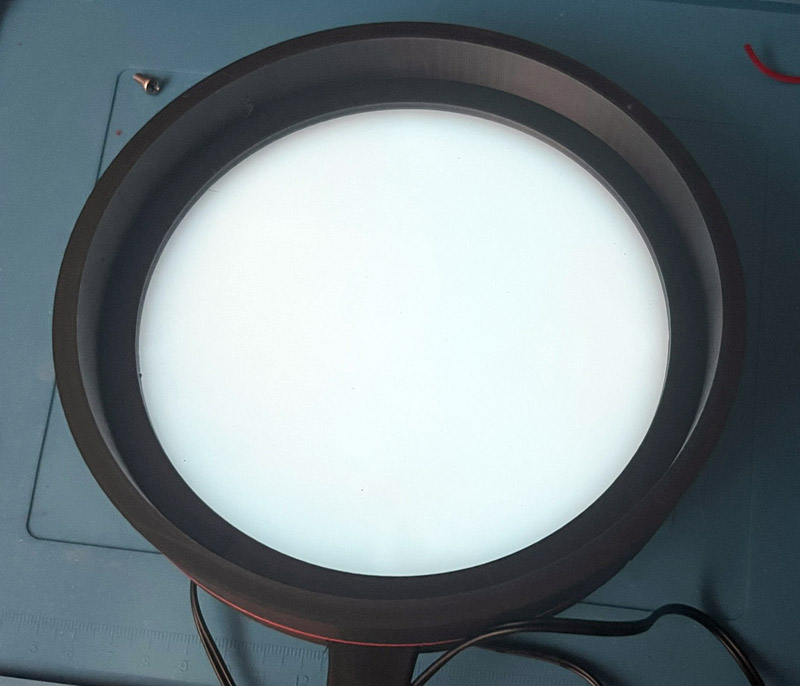
Photographing under Bortle 8-9 skies requires a filter or two to block some of the artificial light.
I use a few of the Optolong filters. My primary go-to is the L-Quad, or if the sky is brighter the L-Pro, for most Ha and OIII dominant objects. If the Moon is out then I might use a L-Extreme. If I need to capture a broader spectrum then the L-Quad may be appropriate. When in doubt I try the L-Quad.
I use a filter tray to make changing filters easier and each is kept in a tray holder and all are stored in a 3D printed box. This is much easier than attempting to unscrew and screw in different filters in the dark with less chance of touching the glass or dropping them.
I usually have the ASIAir refocus after changing filters.
Cleaning the Camera Sensor
Although I try my best to keep the camera sensors clean dust seems to find them. Both my astro and DSLR cameras have had dust issues. It manifests itself as light toned circles (donuts) on the images.
The ZWO camera comes with a metal screw-in dust cap with an o-ring seal. While great for storage it has to come off sometime. In my case that camera is attached to the filter drawer once the camera is on the mount. Before attaching the camera I check it inside with a flashlight at various angles to make sure that it is clean. Really clean. Spotless. Every tiny spec on the sensor shows up as a light circle on the image. Any dust at all requires a sensor cleaning. I try a squeeze blower first. Sometimes that's not enough.
I check the sensor for dust every time before I attach it to the telescope.

There is a spec of dust in the center left of the sensor that could not be removed with the blower.
My cleaning supplies are a flashlight to check for dust specs, a squeeze blower and a sensor cleaning swab and Eclipse optical cleaning fluid. First turn off any fans and close nearby windows. You don't need new dust swirling around. Using some tape remove any dust from the black outer metal part of the camera (Not the sensor!) to prevent it from falling on the sensor later.
Remove the dust cap and place it face down on a dust free surface. Try to blow the dust off with the squeeze blower. Do not attempt to blow on the sensor using your mouth or you will likely spray spit on it. If the blower doesn't work open the sensor swab and do not touch the swab's cleaning end. Put a drop or two of the cleaning fluid on the swab near the end. Make a couple of wipes across the sensor the same direction for each the the width and height getting right to the edge. Check for any remaining dust. The sensor should be clean. If not repeat the wipes, otherwise install the dust cap until the camera is mounted on the telescope.

The supplies to clean the sensor. I start with the flashlight and the squeeze blower. If stubborn dust remains I'll use Eclipse optical cleaning fluid and an APS-C sensor cleaning swab.